Introduction to Chandelier Cleaning
Chandeliers bring elegance and charm to any area, but keeping them sparkling takes regular maintenance and attention. Dust, fingerprints, and grime can accumulate over time, dulling their appearance and reducing their impact. Regular cleaning is required to maintain their brilliance and improve the room's mood. This article offers a detailed, step-by-step strategy to safely and effectively cleaning chandeliers, guaranteeing your fixture stays the stunning centerpiece it was designed to be for as long as possible.
Table Of Content
- Preparing for a Safe and Efficient Cleaning
- Surface Dusting for Regular Maintenance
- Deep Cleaning the Chandelier (Crystals On)
- Deep Cleaning the Chandelier (Crystals Off)
- Reassembly and Final Touches
- Specialty Cleaning Techniques for Hard-to-Reach Fixtures
- Post-Cleaning Maintenance and Care
- Troubleshooting Common Chandelier Cleaning Issues
- Conclusion - When to Consider Professional Cleaning Services
Different Types of Chandeliers and Cleaning Considerations
Each chandelier style has distinct qualities that may need various cleaning methods, so it's important to understand the material and design of your light before beginning. Here are a few common types:
- Crystal Chandeliers – Crystals are particularly susceptible to fingerprints and dust because their transparency makes pretty much any residue visible. Handle them with care to avoid scratches, and try to use non-abrasive cleaners to keep their clarity and brightness.
- Glass Chandeliers – Glass is long-lasting and tarnish-resistant, but it requires streak-free treatments to retain clarity because streaks and smudges are pretty clearly visible on most glass surfaces.
- Brass Chandeliers – Brass chandeliers can tarnish or corrode if not properly maintained, so using a dedicated brass cleaner is needed to keep the finish looking fresh and untarnished.
- Chrome Chandeliers – Chrome fixtures are prone to water stains and smudges, using a lint-free cloth and avoiding too much water can help retain their high-shine gloss.
- Wood or Metal Chandeliers – Wood or metal chandeliers are typically easy to maintain, usually needing only a light dusting with the occasional deeper cleaning to avoid rust or paint wear. Make sure to use gentle cleaners that won't harm painted or finished


Preparing for a Safe and Efficient Cleaning
Effective chandelier cleaning requires preparation, allowing you to clean with assurance and prevent mishaps. By gathering the necessary equipment and setting up a secure work area, you'll be able to perform a thorough cleaning without running the risk of harming yourself or your chandelier.
Turning Off Power and Safety Precautions
Seeing as many chandeliers contain electrical components and large, delicate materials, safety should always come first when cleaning them. To avoid the risk of getting shocked, switch off the power at the circuit breaker before cleaning, and wait until the bulbs in your chandelier have completely cooled if it has any hot bulbs. To minimize risk when cleaning, always operate in a safe, well-lit location. For extra protection, use protective gloves.
Essential Supplies Checklist
Assembling the necessary materials helps make sure you're prepared for every step of the cleaning procedure. Here is a brief list of general necessities:
- Microfiber Cloths – Microfiber cloths are great for catching dust and grime and avoiding scratches on delicate surfaces.
- Cleaning Solutions – Use a commercial cleaner that is safe for chandeliers or, for a softer clean, a do-it-yourself solution such as diluted vinegar and water.
- Protective Gloves – Protective gloves are especially useful when using strong cleansers since they protect cleaning agents off your hands and prevent smudges on crystals.
- Ladder – To safely access the chandelier and guarantee that even difficult-to-reach areas are reachable, a strong, movable ladder is required.
- Protective Cloth or Sheet – Using a protective cloth or sheet can assist prevent further cleanup by shielding the floor and surrounding area from spilled solutions or unintentional drops.
Proper Ladder Setup and Area Protection
In order to securely and comfortably reach the chandelier, make sure your ladder is sturdy, secure, and at the proper height. To catch any dust or cleaning solution that may fall, and to cover the floor from unintentional drips or drops, place a protecting cloth underneath the chandelier. The surrounding area can be kept clean with the use of a plastic tarp or drop cloth.
Surface Dusting for Regular Maintenance
Chandeliers can remain cleaner for longer and require fewer deep cleanings if a regular dusting routine is followed. By preventing accumulation of dust, light dusting maintains the chandelier's shine and fresh appearance.
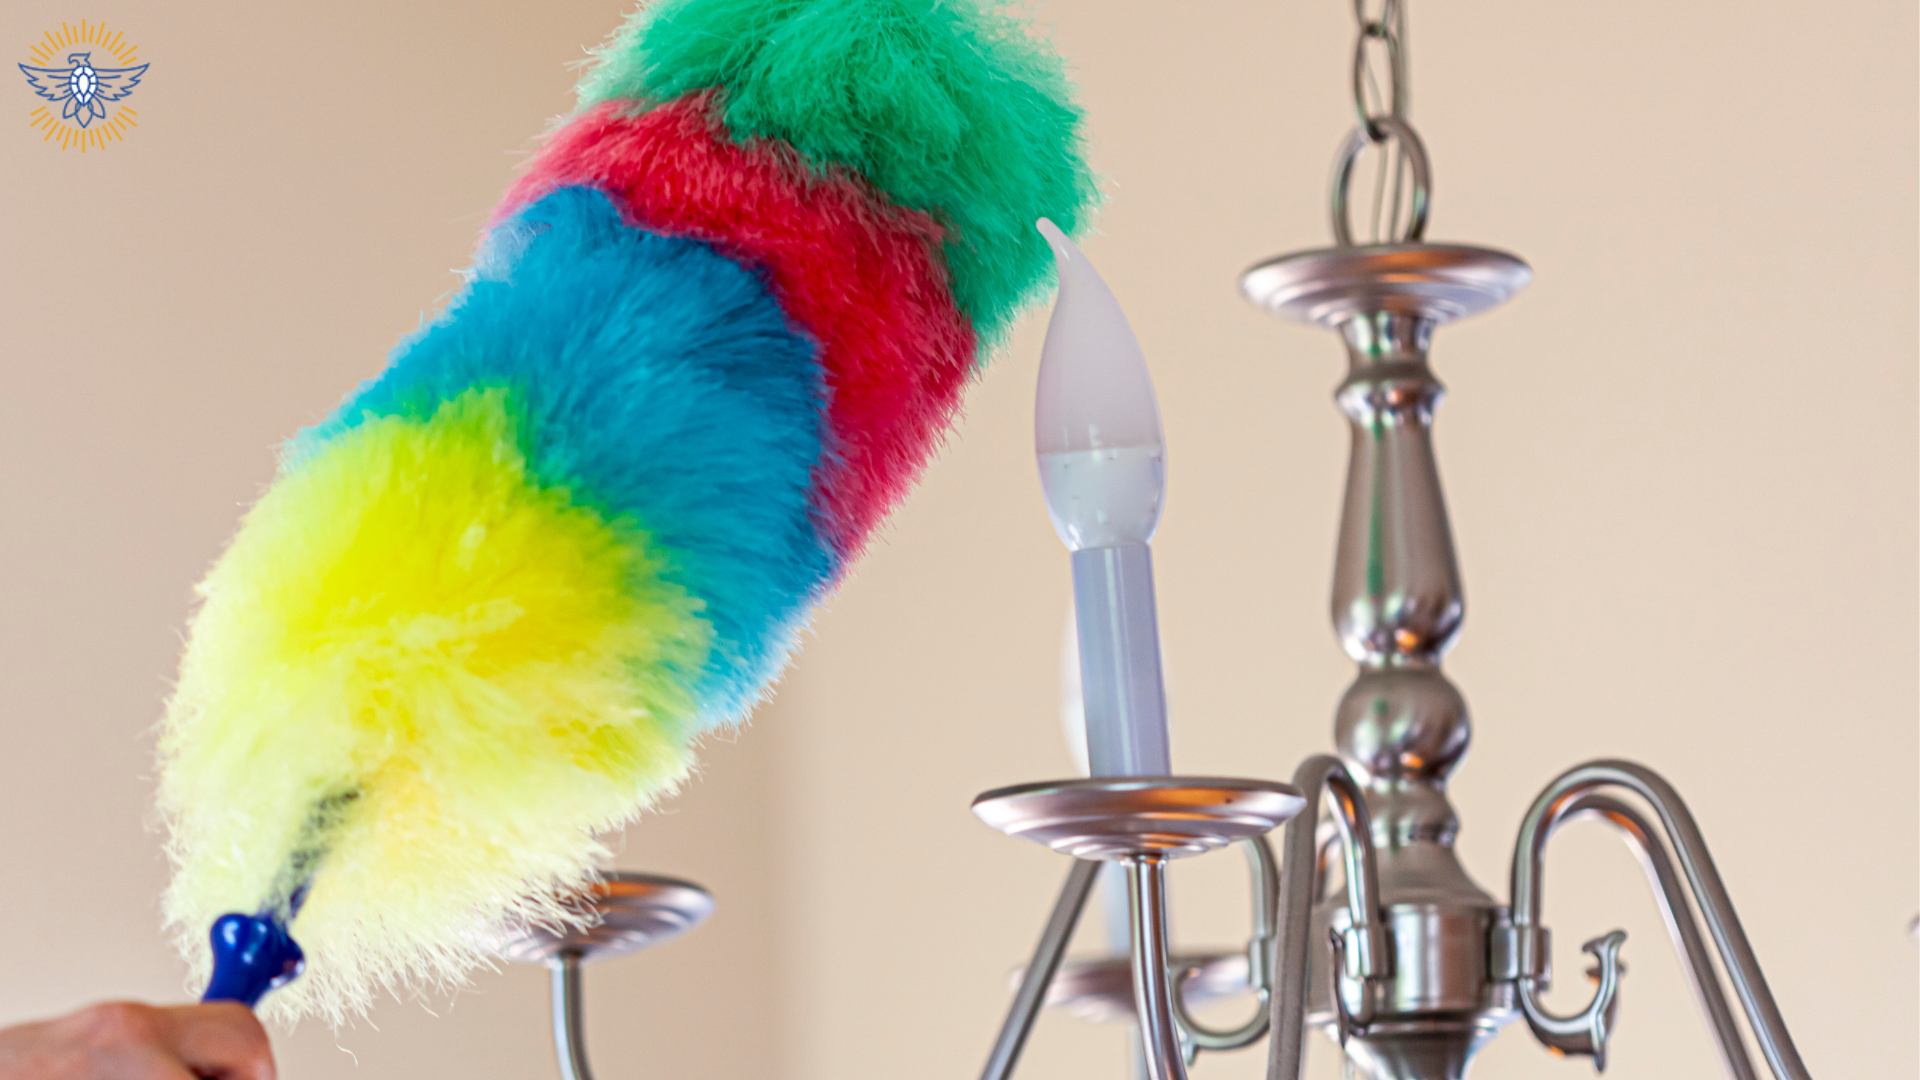
Best Practices for Dusting Without Damaging Crystals
To get rid of dust without damaging delicate surfaces, use an electrostatic duster or a microfiber cloth. Feather dusters can make the task more difficult by pushing dust further into metal surfaces or crystals. To be sure that no part of the chandelier is missed, work in parts, paying particular attention to the corners where dust tends to collect.
Tools for Reaching Difficult Areas
For guaranteeing that all dust is cleaned without causing structural damage to the chandelier, long-handled dusters or tiny, soft-bristle brushes might be useful for getting between closely spaced crystals or complicated framework. You can also use a handheld vacuum on low to remove loose dust from hard-to-reach places, like tight corners or high ceilings.
Read Our Chandeliers Buying Guide to Learn More
Looking for just the right Chandeliers Consider reading our buying guide to learn more about things like Budgeting, Design Types, How To Install, Energy Costs, Commercial and Bulk Options & of course, Our Favorite Products!
Chandelier GuideDeep Cleaning the Chandelier (Crystals On)
The crystals can still shine with a mild, efficient solution if you don't want to remove them. This technique is perfect for routine cleanings because it is effective and reduces the amount of time needed for reassembly.
Preparing and Applying the Right Cleaning Solution
Smudges and light accumulation can be effectively removed by using a chandelier-safe cleaner or a homemade solution made with vinegar and distilled water. For best results, choose cleaners made especially for glass and crystal and stay away from harsh chemicals that might damage delicate surfaces.

Best Commercial vs. DIY Solutions
- Commercial Cleaners – Choose a reputable brand that is designed for glass or crystal, as this reduces streaks and is generally safe for the majority of chandelier materials.
- DIY Solution – For delicate crystals and surfaces that might react to harsher chemicals, a solution of one part vinegar to three parts water with a few drops of mild dish soap is a safe and efficient substitute.
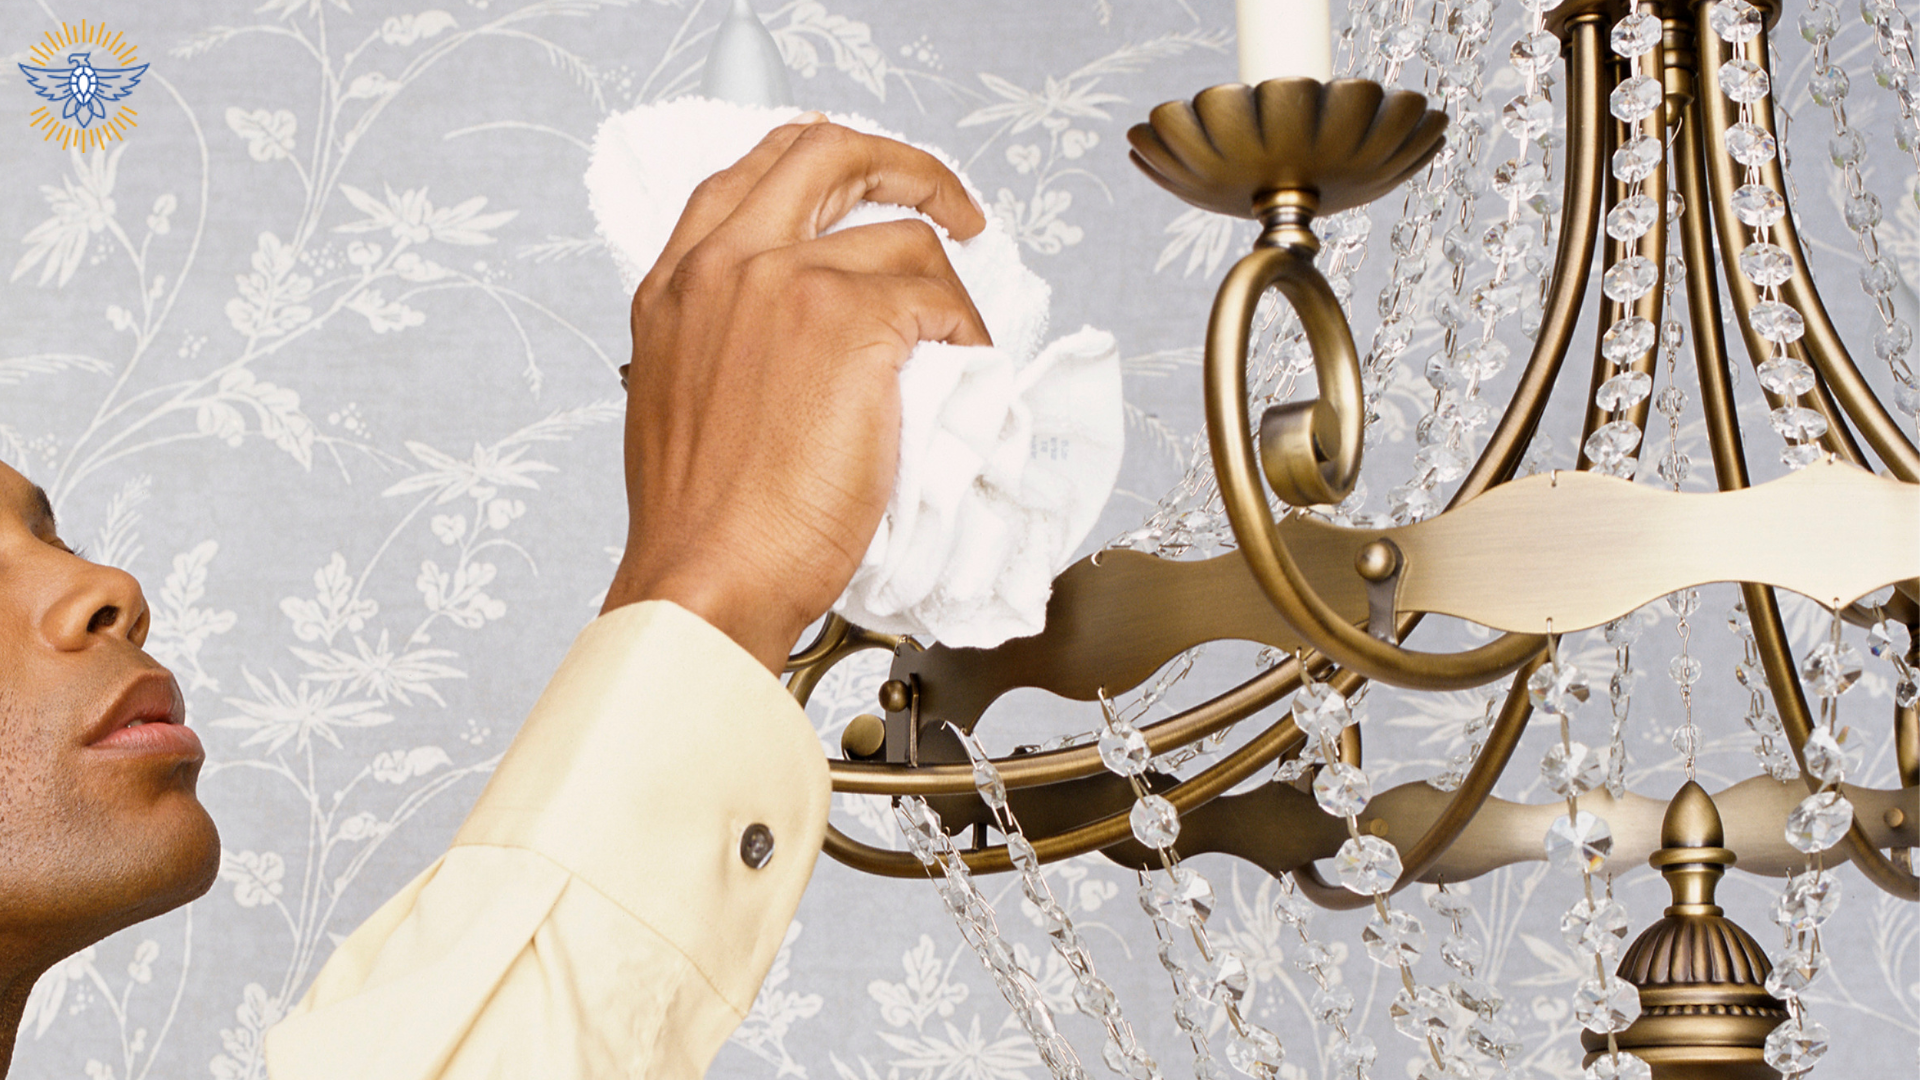
Method for Wiping Down Crystals and Metal Components
Instead of spraying the cleaner directly on the chandelier crystals, use your microfiber cloth to reduce the possibility of drips or stains. By controlling the amount of cleaner used, you can lower the chance of harm. To avoid movement and stress on the chandelier frame, gently clean each crystal while holding it in place with your hand. To prevent scratching or dulling the crystal surfaces, repeat as needed while applying light pressure to any troublesome areas.
Cleaning the Frame Without Damaging Finish
To maintain their distinctive finishes, chandelier frames—which are frequently composed of metals like brass, chrome, or plated finishes—need certain cleaning methods. These materials can become dulled or scratched if harsh cloths or inappropriate cleaning solutions are used.
Different Methods for Brass, Chrome, and Glass Frames
- Brass – It's best to use a specialized brass cleaner because brass tarnishes fast. If at all possible, keep brass away from water because it can rust with prolonged exposure.
- Chrome – To keep chrome finishes shiny without leaving streaks, wipe them with a moist cloth in tiny circular strokes. Chrome finishes can display water spots.
- Glass Frames – To prevent smudges or scratches, handle glass like you would crystals, using a gentle, moist cloth and a mild cleaning solution.
Deep Cleaning the Chandelier (Crystals Off)
Removing the crystals will enable you to reach every area of the chandelier and clean each section separately for a more complete cleaning. Although it takes longer, this procedure can significantly improve overall clarity and shine.
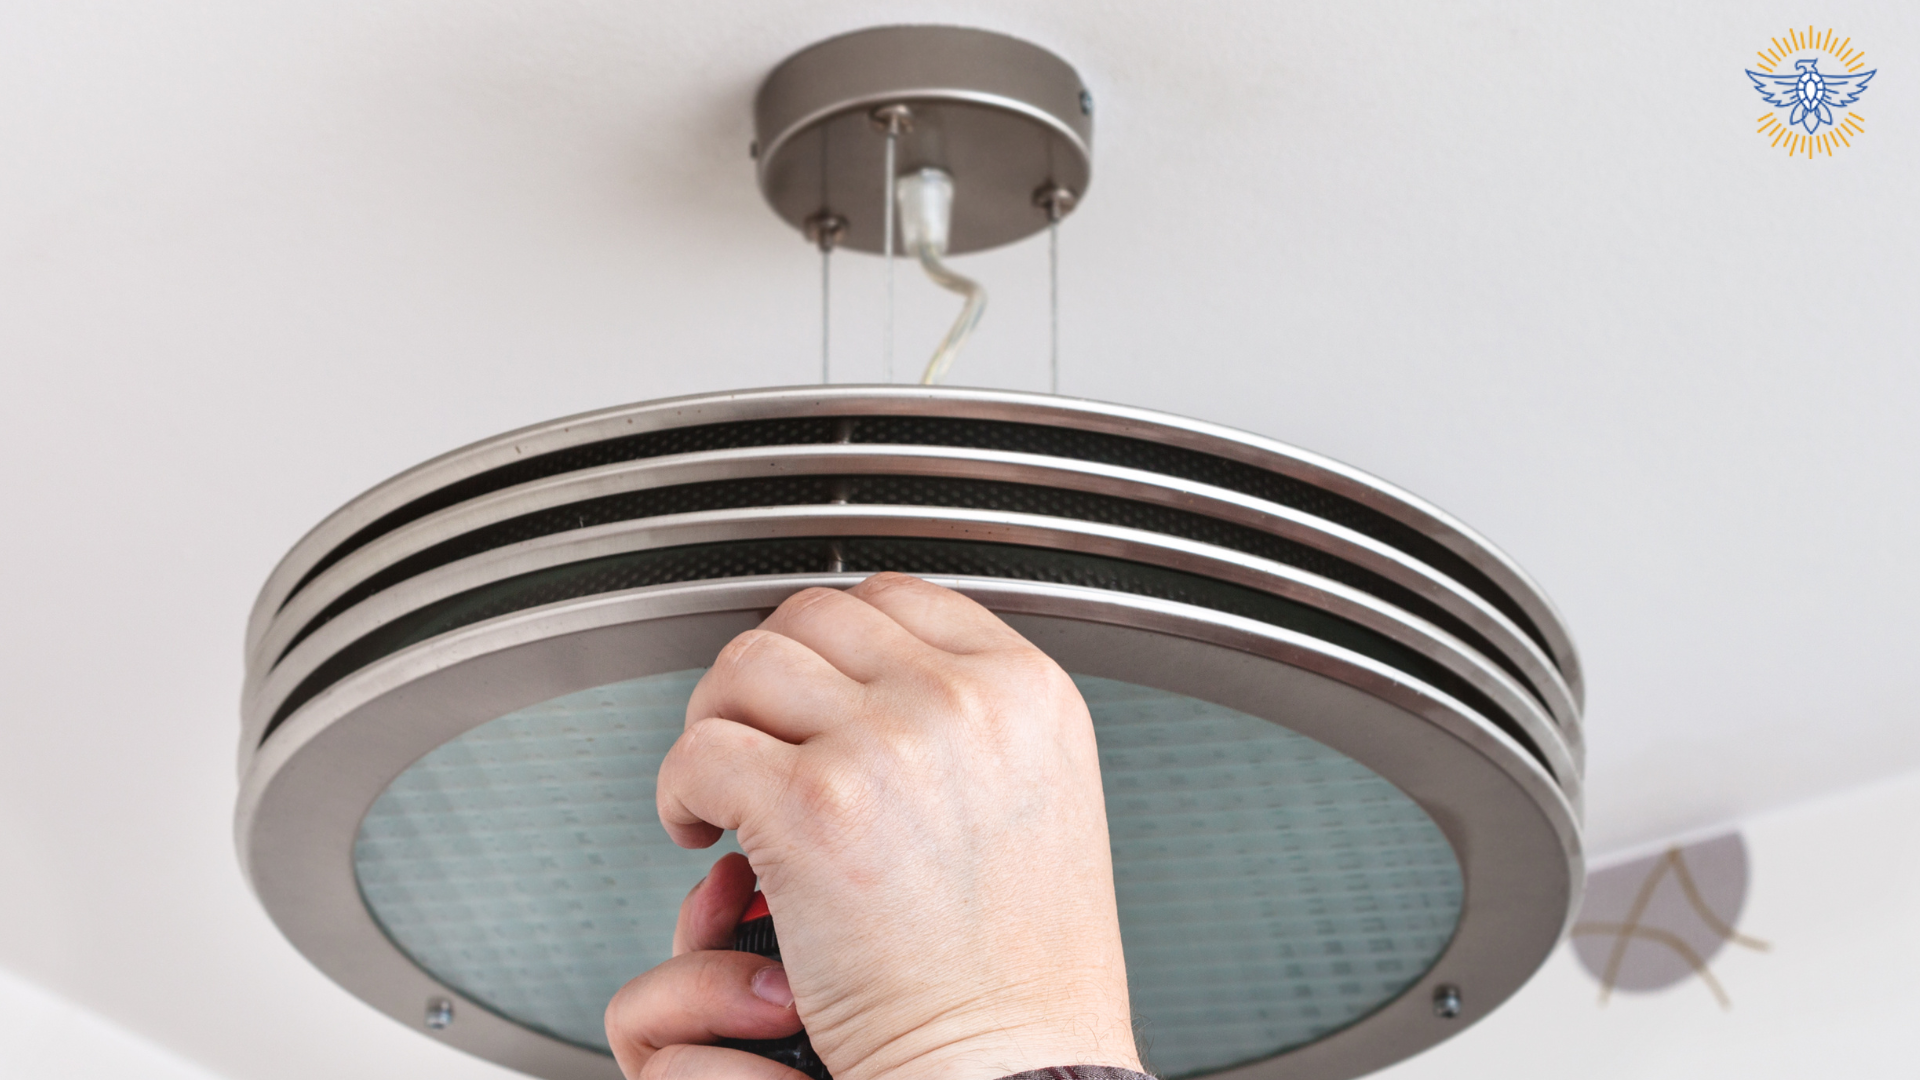
Safely Removing and Labeling Crystals
In order to prevent accidental drops, carefully remove crystals with both hands. To make sure they are reattached correctly during reassembly, label each component or arrange them by section. To serve as a reference, think about taking pictures of every component before removal.

Washing Each Crystal Individually
To remove any dust or light dirt, rinse each crystal under lukewarm water after removing it. Stay clear of hot water because the heat can break fragile crystals. For best clarity in tough areas, add a drop of mild soap and rub each crystal gently with your fingers before giving it one more rinse.
Drying and Polishing Without Leaving Residue
After washing, polish each crystal to a shine and pat dry with a lint-free cloth to avoid streaks. Before reassembly, place the crystals on a soft towel to air-dry for the best results. Make sure the crystals are entirely dry to prevent quicker residue buildup.
Reassembly and Final Touches
Ensuring Proper Rebalancing and Secure Attachments
Make sure all of the crystals are securely fastened before reattaching them to prevent the fixture from wobbling or becoming unbalanced. After the chandelier is put together, turn it slowly to make sure that no part of the frame is strained and that it is balanced well.
To maintain the chandelier's best appearance and make sure every component is secure in place, reassemble and rebalance it after cleaning.
Final Polish for a Streak-Free Shine
Polish the chandelier one more time with a dry, clean microfiber cloth to get rid of any smudges or fingerprints that could have lingered after reassembly. For a gorgeous, streak-free finish, this last polish makes sure that every crystal and metal component reflects light exquisitely.
Specialty Cleaning Techniques for Hard-to-Reach Fixtures
Alternative cleaning methods can simplify and secure chandeliers placed in difficult locations or with high ceilings.
Using Steam for Stubborn Dirt and Grime
Without the use of harsh chemicals, stubborn dirt can be removed with a portable steamer set to a mild setting. To prevent moisture buildup on crystals or metal surfaces, use the steamer in short cycles and keep it a safe distance away from items that can be damaged by too much steam.

Ultrasonic Cleaning for Fragile and Intricate Chandeliers
For delicate chandeliers with intricate features, ultrasonic cleaning is the ideal choice. This method is perfect for antique or valuable chandeliers because it uses mild vibrations in an ultrasonic cleaner to remove dirt and grime without harming metal or fragile crystals.
Post-Cleaning Maintenance and Care
Maintaining the chandelier's beauty and functionality through routine maintenance can extend the time between deep cleanings.
Setting a Regular Dusting and Cleaning Schedule
To avoid accumulation, dust your chandelier every one to two weeks, especially in areas with lots of traffic or airflow, and schedule a thorough cleaning every six to twelve months. Adapt the frequency to your surroundings; areas with higher levels of dust or moisture might need to be cleaned more frequently to keep the chandelier in good shape.
Troubleshooting Common Chandelier Cleaning Issues
Even after cleaning, chandeliers can occasionally have problems, but most concerns can be fixed with a few easy steps.
How to Handle Streaks or Cloudiness on Crystals
Polish crystals with a microfiber cloth lightly moistened with distilled water. Avoid paper towels and buff gently with a dry cloth.
Fixing Loose or Missing Parts
Tighten loose components carefully using a small screwdriver. For missing pieces, contact the manufacturer or a repair shop.
Dealing with Metal Tarnish and Discoloration
Use a polish suited to your chandelier’s finish. Avoid abrasives and always test a small hidden area first.

Are you in the trade?
Builders, contractors, and designers have partnered with Butler Lighting across the Carolinas and Southeast since 1948.
DIYer or homeowner looking for lights?
Our showrooms and online store are open to the public. Discover top lighting collections for every type of project.
Get A QuoteConclusion - When to Consider Professional Cleaning Services
Even though this article covers every step required for a do-it-yourself chandelier cleaning, there are several situations in which expert assistance may be necessary. Cleaning large, heavy, or complex chandeliers at home can be challenging and, more importantly, dangerous. Experts in chandelier maintenance who use advanced tools like ultrasonic cleaners for a thorough, yet gentle, clean may be better suited to handle expensive or antique chandeliers. With the right maintenance and routine cleaning, your chandelier will continue to light up your room for many years to come.